

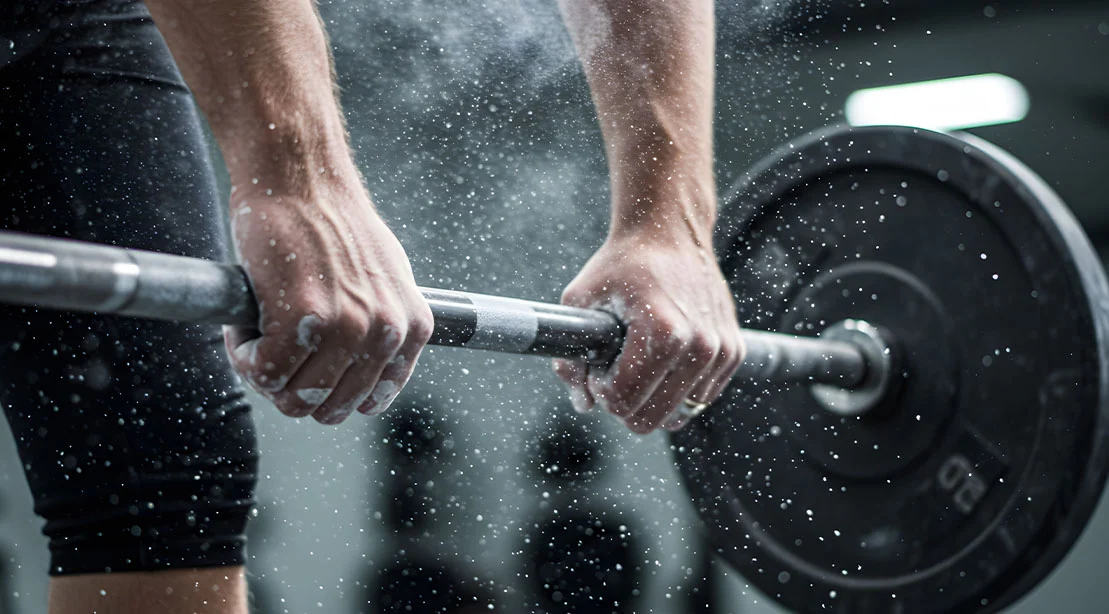
In the world of strength training, the mantra "grip it and rip it" is often treated as a dismissive instruction—a call to prioritize intensity over technical precision. However, for elite athletes and seasoned lifters, the contact point between the palm and the barbell is the most critical variable in the kinetic chain. How you grip a bar dictates your mechanical leverage, the safety of your joints, and the efficiency of your force transfer.
When the grip is suboptimal, the kinetic chain breaks. The wrists may hyperextend, the elbows may flare, or the shoulders may lose their stable packing. When the grip is optimized, you are "locked in," creating a rigid foundation that allows the target muscles—the pecs, lats, or glutes—to perform at their maximum capacity. Understanding the nuances of grip is not just about avoiding calluses; it is about engineering a safer, more powerful training session.
Main Facts: The Anatomy of a Perfect Hold
At its core, grip is about alignment. The way your hand interacts with the barbell influences the alignment of the distal and proximal joints throughout your entire arm.
The Pressing Paradox
In pressing movements like the bench press or overhead press, the goal is to keep the forearm vertical under the bar. To achieve this, the bar should sit toward the heel of the palm rather than deep in the fingers. When the bar is placed correctly, the weight is stacked directly over the radius and ulna, allowing for a direct transfer of force. If the bar is too high toward the fingers, the wrist is forced into extension, creating a mechanical weak link that can lead to chronic wrist pain or diminished power output.
The Pulling Reality
Pulling exercises, such as the deadlift or heavy row, require a different philosophy. If you bury the bar deep in the palm, the weight will naturally roll toward the fingers as the load increases. This rolling action bunches the skin, leading to premature tearing and the formation of painful calluses. By positioning the bar between the distal transverse crease and the proximal digital crease, you create a "hook" that allows for a more secure grip while minimizing tissue damage.
Chronology: The Evolution of Grip Mechanics
The history of grip training has evolved alongside our understanding of biomechanics. In the early 20th century, grip was largely viewed as an isolated metric—a test of hand strength via grippers and thick-handled implements.
As strength science matured, researchers and coaches began to recognize the "downstream effect." By the late 1990s and early 2000s, the focus shifted from "how much can you hold?" to "how does your hold change the lift?"
- The Era of Conventionalism: For decades, the double-overhand grip was the gold standard for all pulling.
- The Optimization Period: Coaches began identifying that the "weak link" (usually the grip) was limiting the "target muscle" (the lats or posterior chain). This led to the adoption of the mixed grip and the hook grip to bypass hand-strength limitations.
- The Modern Biomechanical Approach: Today, we analyze grip through the lens of joint health and force vectors, adjusting width and orientation to suit individual skeletal structures.
Supporting Data: The Six Pillars of Grip Styles
Understanding the distinct grip styles is essential for matching your mechanics to your specific training goals.
1. The Pronated Grip (Overhand)
- The Setup: Palms facing away or down.
- Best Used For: Deadlifts, rows, and overhead presses.
- Impact: Promotes shoulder stability, though it is the most prone to grip failure under extreme loads.
2. The Supinated Grip (Underhand)
- The Setup: Palms facing toward you or up.
- Best Used For: Chin-ups and supinated rows.
- Impact: Maximizes biceps recruitment by placing the forearm in a position of mechanical advantage for elbow flexion.
3. The Neutral Grip
- The Setup: Palms facing each other.
- Best Used For: Hammer curls and neutral-grip pull-ups.
- Impact: Highly shoulder-friendly, as it naturally puts the glenohumeral joint in a neutral, safer position.
4. The Mixed Grip
- The Setup: One hand pronated, one hand supinated.
- Best Used For: Maximal heavy deadlifts.
- Impact: Effectively prevents the bar from rolling out of the hands, though it creates an asymmetrical torque on the torso.
5. The Hook Grip
- The Setup: Fingers wrap over the thumb, locking it against the bar.
- Best Used For: Olympic lifting and powerlifting.
- Impact: Unmatched security for heavy pulling, though it requires significant "break-in" time for thumb pain tolerance.
6. The False Grip (Thumbless)
- The Setup: Thumbs placed on the same side as the fingers.
- Best Used For: Specific gymnastics movements or back squats.
- Caution: Generally discouraged for heavy pressing due to the risk of the bar slipping off the palm.
Implications: The "Downstream" Effect
Your grip is the first command in a long chain of neuromuscular signals. When you adjust your grip width on a row, for example, you are fundamentally changing the elbow path. A narrow grip emphasizes the lats, while a wider grip shifts the burden to the upper back and rear deltoids.
The Joint Health Factor
The most significant implication of grip adjustment is injury prevention. Many lifters complain of "tennis elbow" (lateral epicondylitis) or "golfer’s elbow" (medial epicondylitis). Often, the culprit is not the weight itself, but a grip width that forces the elbows into an unnatural trajectory. By narrowing or widening your grip to match your shoulder width and biomechanical levers, you reduce the shear force on these delicate tendons.
The Performance Ceiling
If your grip is the "weakest link," your central nervous system will subconsciously limit the amount of force your larger muscle groups produce—a phenomenon known as "neural inhibition." By using a more secure grip, you signal to your brain that the load is safe, allowing you to recruit more motor units and achieve higher intensity.
Determining Your Ideal Grip: A Professional Checklist
To determine if your current grip is serving your goals, apply the following diagnostic framework:
- Pain Audit: Does your grip cause sharp pain in the wrists, elbows, or shoulders? If yes, adjust width or rotation immediately.
- Stability Check: Does the load feel "disconnected" or "wobbly"? If you feel like you are fighting the bar, your contact point is likely too shallow or too deep.
- Force Transfer: Are you stronger with one variation over another? While comfort is key, the grip that yields the highest force output with the cleanest technique is the one you should prioritize.
- Anatomical Variance: Do not fall into the trap of "universal" grip widths. Your femur-to-torso ratio and arm length dictate where your hands belong. Use the "starting point" recommendations as a baseline, then adjust based on your unique anatomy.
The Verdict: Grip as a Strategic Tool
In the hierarchy of training variables, grip is often undervalued. However, as the point of entry for all force production, it is the most critical gatekeeper of your progress. Whether you are a competitive powerlifter or a recreational trainee, treat your grip not as an afterthought, but as a deliberate strategic decision.
A well-chosen grip should be transparent—it should allow you to focus entirely on the movement without the distraction of slipping, sliding, or joint discomfort. Remember: the goal is to make the weight feel as if it is an extension of your body. When you achieve that connection, you are no longer just lifting; you are performing at the pinnacle of your physical potential.
 Asro
Asro
 Lina Hope
 Reynand Wu
