
By: Editorial Desk
Published: June 25, 2026
The Star Fox franchise has long been defined by its high-octane, on-rails aerial combat, blending precision shooting with deep, branching narratives. With the latest iteration developed by Velan Studios and Nintendo, players are once again invited to take the helm of the Arwing to defend the Lylat System from the machinations of the villainous Andross. While the core gameplay loop of "shoot and survive" remains intuitive, the depth of the title—ranging from branching mission paths to complex scoring mechanics—can be daunting for newcomers.
This guide serves as your flight manual for navigating the complexities of the campaign, maximizing your combat efficiency, and unlocking the secrets hidden within the Lylat System.
The Strategic Foundation: Understanding Mission Structure
At its core, Star Fox is a masterclass in risk-versus-reward. While the initial missions may feel like straightforward arcade shooters, the game is designed with a "hidden" complexity. Players often find themselves inadvertently drifting into high-difficulty routes, making a fundamental understanding of the mission map essential.
The End is the Beginning: Beyond the Credits
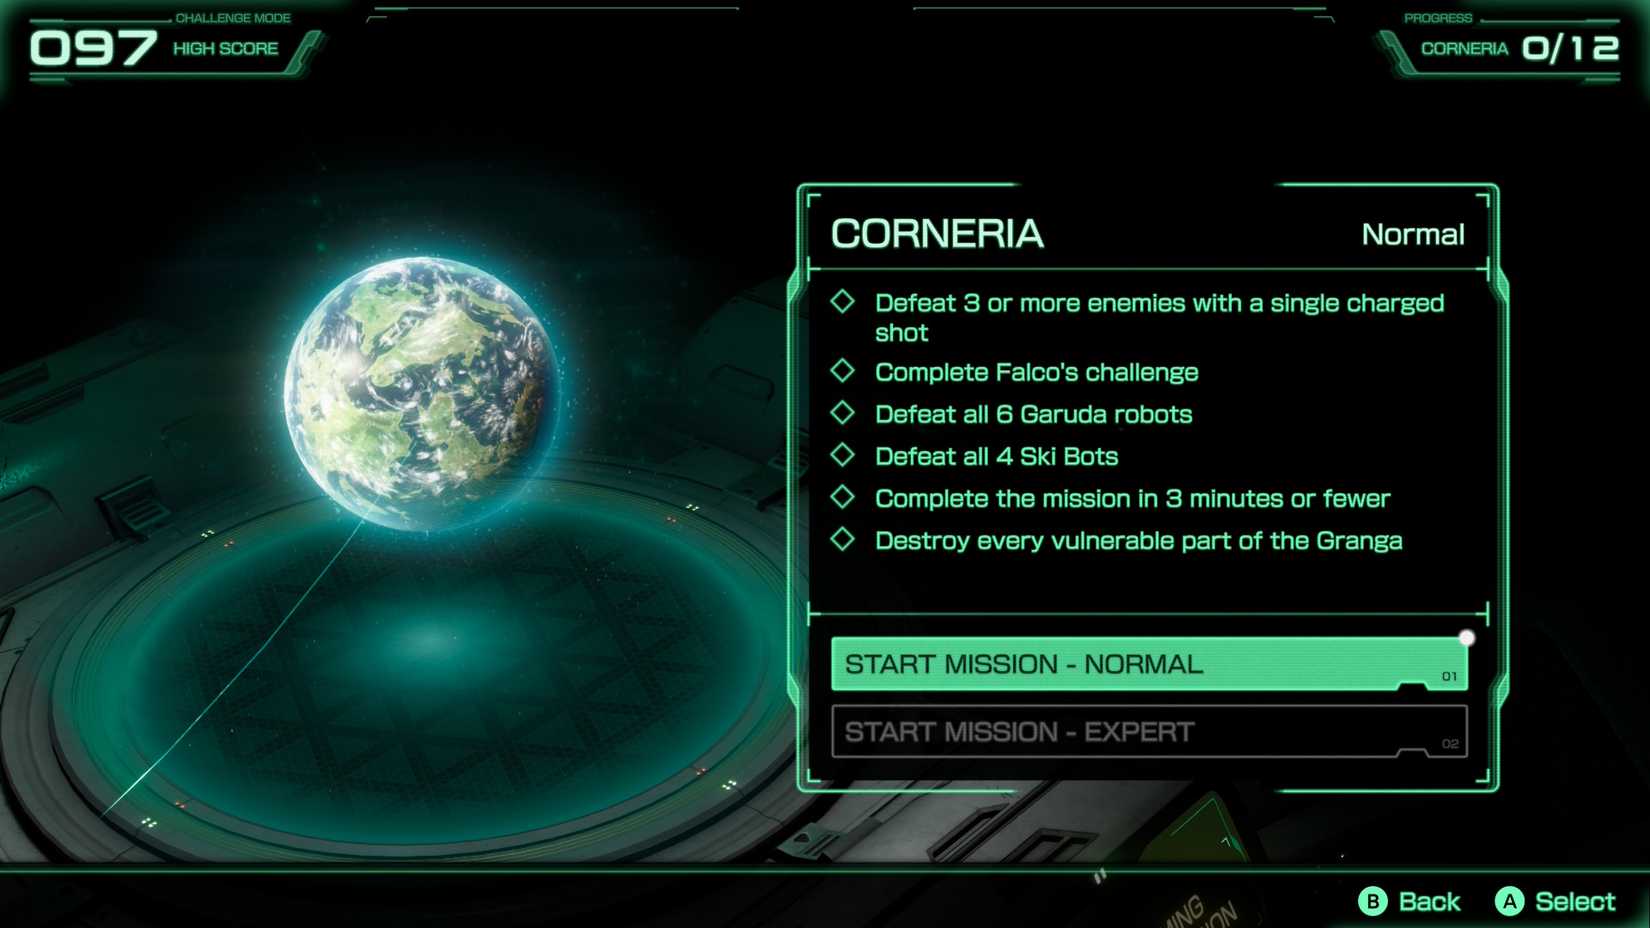
When you first clear the campaign and witness the fall of Andross, the game has only just begun. The campaign is designed for replayability, with two dozen distinct routes connecting the starting point of Corneria to the final destination on Venom.

Players should treat the map viewer as a tactical interface. By highlighting a planet and pressing the ‘X’ button, you can view specific mission criteria. This screen is vital for tracking unearned medals and identifying the specific triggers required to unlock alternate flight paths. Mastering these paths is not merely about seeing new content; it is about testing your skill against increasingly difficult environmental and enemy configurations.
Tactical Maneuvers and Combat Efficiency
Success in the cockpit of an Arwing requires more than just a steady trigger finger. It requires an understanding of the game’s varied perspective systems and movement mechanics.
Perspectives: First-Person vs. Third-Person
The game offers two primary viewing modes, each serving a distinct tactical purpose. While third-person is the default and provides the best spatial awareness of your surroundings, it can lead to frustration during high-precision engagements. By pressing the ‘-’ button, players can toggle into a first-person cockpit view. This mode significantly improves reticle accuracy, making it ideal for picking off small, distant targets or hitting weak points on capital ships. The trade-off, however, is a loss of peripheral vision, leaving you vulnerable to threats approaching from above or below.
The Art of the Charged Attack
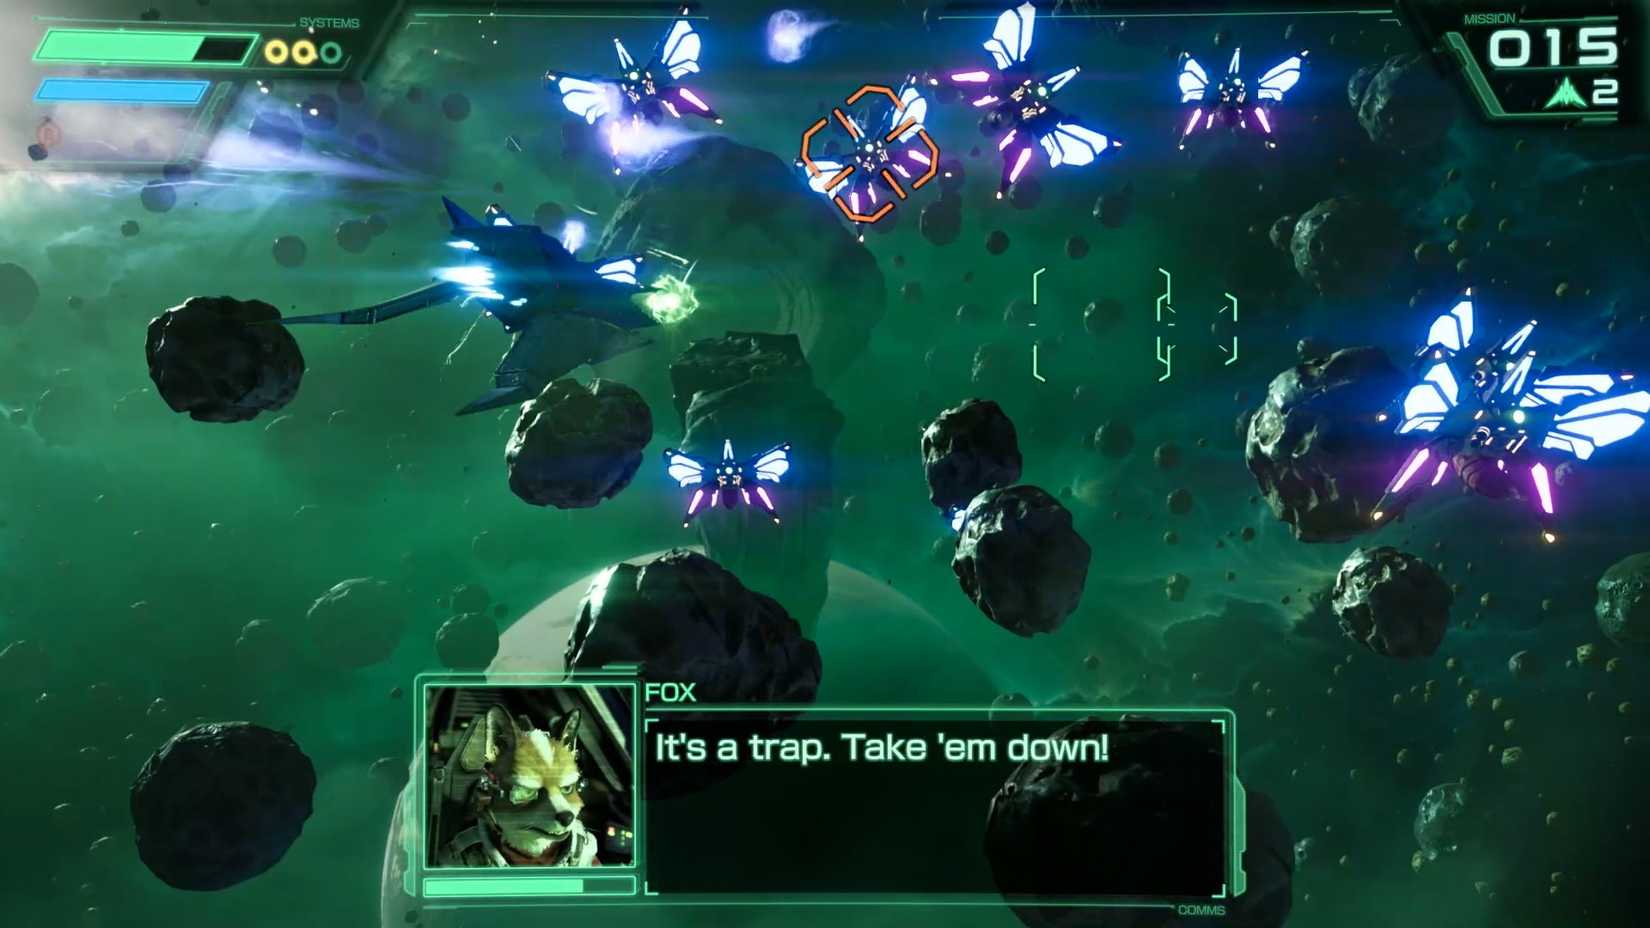
One of the most important lessons for any pilot is the efficient use of the charged energy shot. Rather than firing at individual targets, focus your reticle on the central unit in a cluster of enemies. A well-placed charged blast will trigger a chain reaction, clearing the entire formation in a single, efficient strike. This not only conserves time but also maximizes your score and frees you to focus on the next threat immediately.
Understanding Mobility Limits
While the tutorial emphasizes high-level maneuvers like the U-turn and the somersault, players must recognize that these are limited resources. The ability to perform these moves is tied to a stamina/energy meter. Mismanaging this meter can leave you defenseless in a dogfight. Furthermore, while the iconic barrel roll is essential for deflecting laser fire and minor projectiles, it is not a "get out of jail free" card. Barrel rolls provide no protection against physical collisions with debris, asteroids, or mechanical arms, which will deal significant damage to your hull.

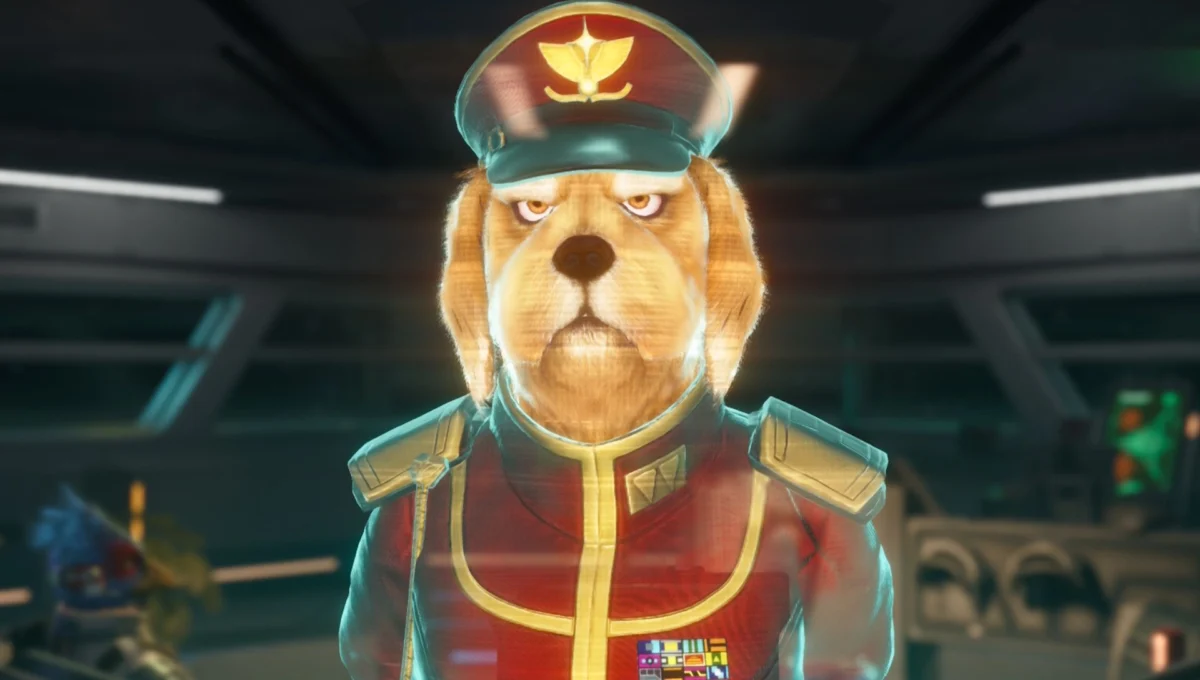
The Importance of Allied Integrity
The members of the Star Fox team—Peppy, Falco, and Slippy—are not merely flavor text or passive companions. They are integral to your success, yet they are remarkably vulnerable.
The Cost of Abandonment
In each mission, your allies will inevitably come under fire. The decision to prioritize their defense over your own aggressive scoring is a critical strategic choice. Allies who are defeated in battle will not appear in the subsequent mission. This creates a cascading difficulty spike: fewer allies mean more enemy fire is directed exclusively at you.
Furthermore, specific routes are locked behind the survival of key team members. For instance, successfully protecting Falco on Corneria is a prerequisite for unlocking the path to Sector Y. On late-game stages like Fichina and Venom, the presence of your team is a tactical necessity to thin out enemy numbers.
Maximizing Performance: Scoring and Support
In the world of Star Fox, your score is more than just a number on a leaderboard; it is a metric of your efficiency and a key to unlocking hidden potential.
The "Shoot Everything" Doctrine
New players often make the mistake of focusing only on the primary enemy ships. However, to truly master the game, one must adopt a "shoot everything" philosophy. Destructible environmental objects, stationary turrets, and even minor debris often contain hidden resources.
Landing a high volume of hits provides two distinct advantages:
- Ally Recovery: The health your wingmen recover between missions is directly correlated to your performance. Higher hit counts translate to more robust teammates.
- Resource Drops: Destructible objects frequently yield health-restoring shields or additional bombs. Maintaining a high hit count ensures that your Arwing remains in peak condition for the duration of the campaign.
Communicating with Command: The R.O.B. Factor
Throughout the campaign, you will receive prompts for incoming messages. These are not narrative exposition—they are tactical opportunities. When the prompt appears, accept it immediately. These signals indicate that R.O.B., your support unit, is ready to provide assistance in the form of supply drops or concentrated covering fire. These prompts are time-sensitive; failing to acknowledge them quickly results in missed opportunities for critical support.
Implications of Difficulty: Expert Mode
For those who find the standard campaign lacking in tension, the game offers a tiered difficulty structure. Once a player has earned at least one medal on a planet, the "Expert" campaign becomes available.
Expert mode is a significant departure from the standard experience. It introduces:
- Enemy Redistribution: Foes are placed in more aggressive positions, and the variety of threats is increased.
- The No-Continue Rule: This is the most punishing aspect of the mode. If you exhaust your lives, you are forced to restart the entire campaign.
This difficulty spike is designed for veterans of the series, testing not just your reaction time, but your long-term resource management and route planning.
Official Perspective and Design Philosophy
Velan Studios, in collaboration with Nintendo, has aimed to modernize the Star Fox experience while maintaining the soul of the original 1997 classic. According to design documentation released alongside the game’s launch, the development team focused heavily on "dynamic difficulty." By allowing players to swap perspectives and rewarding them for protecting allies, the game encourages a more thoughtful, tactical approach to the arcade shooter genre.
The decision to gate alternate routes behind specific skill-based objectives—such as hit counts or team survival—is intended to foster a community of exploration. The developers have emphasized that the "true" end of the game is not the first time the credits roll, but the mastery of the entire Lylat map.
Final Thoughts for the Aspiring Ace
As you prepare to take off from Corneria, keep these core tenets in mind: prioritize your team, maximize your hit counts, and never underestimate the value of a well-timed barrel roll. The Lylat System is a dangerous place, and Andross’ forces are relentless. However, with the right strategy and a commitment to precision, the skies of the Lylat System are yours to command.
Whether you are a newcomer to the cockpit or a returning veteran looking to refine your skills, remember that every mission is an opportunity to improve. The path to mastery is long, but for those who can navigate the twists and turns of the campaign, the reward is the thrill of the perfect run. Good luck, pilot—the galaxy is counting on you.
