

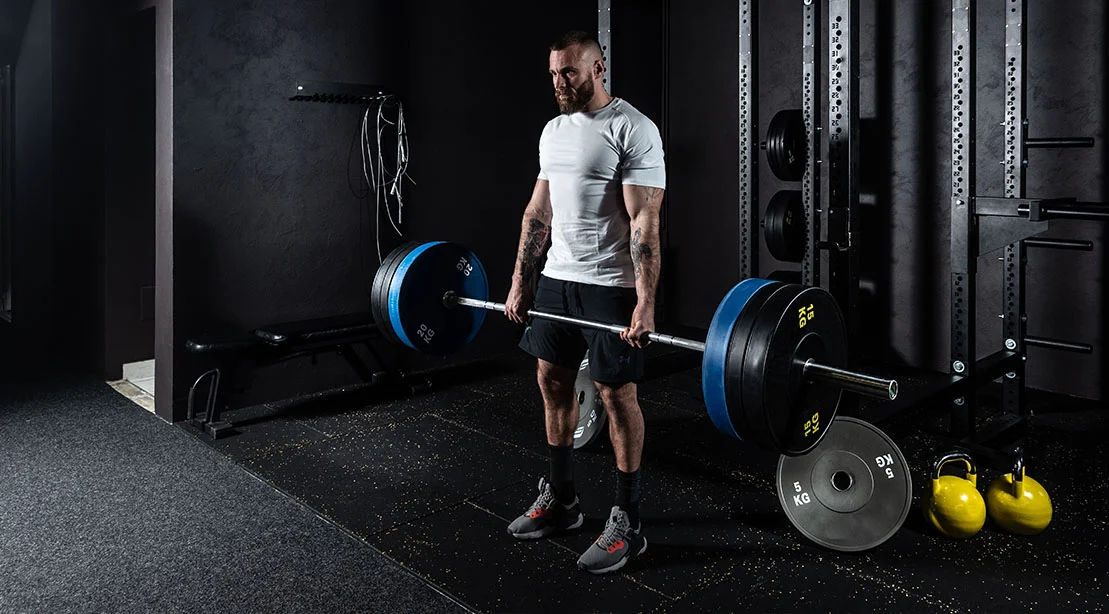
In the world of strength training, the Romanian Deadlift (RDL) is widely regarded as the gold standard for posterior chain development. It is the premier movement for targeting the glutes and hamstrings, offering a unique stimulus that traditional back squats or leg curls simply cannot replicate. Yet, for all its efficacy, the RDL is frequently the most butchered movement in the weight room.
Many lifters fall victim to a common, detrimental habit: the "rush to lift." In the eagerness to move iron, they bypass the critical preparatory phase—the setup. This oversight is not merely a technical error; it is a fundamental breakdown that shifts the load from the intended muscle groups to the vulnerable lumbar spine. When you fail to prepare, you prepare to fail. To maximize hypertrophy and minimize the risk of injury, your RDL must be a systematic, disciplined process that begins long before you pull the bar from the rack.
The Anatomy of an Error: Why the Setup Defines the Set
The RDL is not a simple matter of bending over and hoping for the best. It is a complex, multi-joint movement that requires precise coordination. If your feet are not rooted, your core is not braced, or your lats are dormant, the barbell will inevitably drift away from your center of gravity.
When the bar drifts, the physics of the lift change drastically. The increased distance between the load and your body creates a massive lever arm, placing an exponential increase in torque on your lower back. This is why many lifters report a "lower back pump" rather than a glute or hamstring burn. By mastering the setup, you ensure that the tension remains exactly where it belongs: on the posterior chain.
The Seven-Step Pre-Lift Protocol
To turn the RDL into a masterpiece of biomechanical efficiency, we have outlined a seven-step checklist. While these steps may feel time-consuming at first, they will eventually become instinctive, transforming your training from chaotic exertion into calculated growth.
1. Setting the Rack Height: The Unracking Efficiency
Your lift begins at the rack. If your J-hooks are too high, you’ll be forced to shrug or rise onto your toes to clear the bar, wasting precious energy before the set even begins. Conversely, if they are too low, you start with a deficit that compromises your initial posture.
The Strategy: Set the hooks so you can unrack the bar with a slight, athletic bend in your knees. Your goal is to clear the hooks with a clean, controlled movement.
- Internal Cue: Stand tall into the bar.
- External Cue: Clear the hooks with confidence.
2. Rooting the Feet: Building a Foundation
A stable structure is impossible without a solid base. Your feet are your point of contact with the earth, and they must be active.
The Strategy: Assume a hip-width stance. Create a "tripod foot" by grounding your heel, the base of your big toe, and the base of your little toe. Do not simply stand; actively "screw" your feet into the floor as if you are trying to tear the gym floor apart. This creates external rotation torque, which immediately activates the outer glutes.
3. The Grip: Connecting to the Bar
Your grip is more than a way to hold the weight; it is the bridge that connects your upper body tension to the bar.
The Strategy: Use a double-overhand grip with your hands positioned just outside your thighs. The bar should sit low in your palm, aligned with the base of your fingers, to keep your wrists neutral. Squeeze the bar with maximum intensity. If your grip fails, the connection to your lats will follow suit.
- Coach’s Tip: If your grip is the limiting factor, do not hesitate to use lifting straps. Your goal is to fatigue your glutes and hamstrings, not your forearm flexors.
4. Softening the Knees: The Hinge Mechanic
One of the most common errors is confusing the RDL with a stiff-legged deadlift or a squat. A stiff-legged deadlift creates too much tension in the lower back, while a squat shifts the load to the quads.
The Strategy: Unlock your knees slightly at the start. Once they are "soft," freeze them in that position. They should not travel forward as you descend, nor should they lock out. This "soft-knee" position ensures the hamstrings remain the primary movers.
5. Lat Engagement: Protecting the Spine
The lats are the largest muscles in the back, and they act as a stabilizer for the entire spine. By engaging them, you keep the bar glued to your legs.
The Strategy: Imagine you are trying to bend the bar around your shins. Squeeze your armpits shut as if you are trying to hold a newspaper under them. This tension creates a rigid torso that prevents the bar from drifting forward during the descent.
6. The 360-Degree Brace
A strong core is your internal weight belt. Without proper bracing, your spine is unsupported during the hinge.
The Strategy: Take a deep breath into your belly, sides, and lower back—not just your chest. Think of creating a 360-degree cylinder of pressure. Keep your ribs stacked over your pelvis; if your ribs flare out, you lose your structural integrity.
7. Head and Neck Position
The cervical spine is often the most neglected part of the setup.
The Strategy: Many lifters stare straight ahead, which causes them to overextend the neck as they fold forward. Instead, let your gaze follow the movement of your torso. When you are standing, look forward; as you hinge, look down toward a spot on the floor. This keeps your neck in a neutral, safe alignment.
Implications for Hypertrophy and Longevity
The RDL, when performed with these seven steps, is a high-reward movement. However, the implications of poor technique are severe. Research into biomechanics suggests that chronic lumbar flexion under load—often caused by the "bar drift" mentioned earlier—is a primary contributor to disc-related injuries in the weight room.
Conversely, when the setup is prioritized, the RDL becomes a tool for longevity. By teaching the body to hinge at the hips while maintaining a neutral spine, you improve your functional movement patterns for daily life. Furthermore, by slowing down the eccentric (lowering) phase, you increase "time under tension," which is the primary driver of muscle hypertrophy.
Troubleshooting Common Failures
Even with a solid setup, errors can creep in. Here is how to address them:
- The Drift: If the bar drifts, you have lost lat tension. Reset your armpits and pull the bar back into your quads.
- The Squat: If your knees keep bending, you are squatting the weight. Use the "unlock and freeze" cue to keep the tension in the hamstrings.
- The Rush: A fast descent is a wasted opportunity. Control the bar on a three-second count to maximize the stretch on the muscle fibers.
- The Hyperextension: At the top of the lift, stop when you are standing straight. Leaning back at the top puts unnecessary shear force on the vertebrae.
The Verdict: Quality Over Quantity
The Romanian Deadlift is an exercise in tension, not momentum. It is not about how much weight you can move, but how well you can move it. By adopting this rigorous pre-lift checklist, you are not just performing an exercise; you are mastering a skill.
When you stand at the rack, take the time to run through the Green Light Checklist: Are your feet rooted? Is the bar gripped? Are the knees soft? Are the lats tight? Is your core braced? Is your neck neutral? When you can answer "yes" to all of these, you have earned the right to hinge. Treat the setup with the same intensity as the lift itself, and the gains in your posterior chain will be as inevitable as they are impressive.
 Lina Hope
 rifanmuazin
 Laily UPN
